Candles have long been cherished for their ability to create ambiance, evoke emotions, and infuse spaces with warmth and fragrance. While store-bought candles are readily available, there’s something truly special about crafting your own candles from scratch. Not only does DIY candle making allow you to customize the scent, color, and style to suit your preferences, but it also offers a rewarding creative experience that can be enjoyed by candle enthusiasts of all skill levels. In this guide, we’ll explore the art of making hand-poured soy wax candles and provide you with step-by-step instructions to create your own beautifully crafted candles at home.
Why Choose Soy Wax?
Before we dive into the candle-making process, let’s take a moment to discuss why soy wax is an excellent choice for DIY candles. Soy wax is a natural, renewable resource made from soybean oil, making it an eco-friendly alternative to traditional paraffin wax. Not only is soy wax biodegradable and non-toxic, but it also burns cleaner and longer than paraffin, resulting in a healthier and more sustainable candle option. Additionally, soy wax has excellent scent throw, meaning it can hold and release fragrance oils effectively, resulting in candles that fill your home with delightful aromas.
Getting Started: Essential Materials and Supplies
Before you begin making your soy wax candles, gather the following materials and supplies:
Soy Wax Flakes: Purchase high-quality soy wax flakes specifically formulated for candle making.
Candle Jars or Containers: Choose heat-resistant glass jars or containers to hold your candles. Mason jars, tins, or ceramic vessels are popular options.
Wicks: Select pre-tabbed cotton wicks suitable for the diameter of your candle containers.
Fragrance Oils: Choose fragrance oils or essential oils in your preferred scents to add fragrance to your candles.
Colorants: Optional – select candle dye blocks or liquid candle dyes to add color to your candles.
Double Boiler or Pouring Pot: Use a dedicated double boiler or a pouring pot to melt the soy wax flakes safely.
Thermometer: A candy or candle thermometer is essential for monitoring the temperature of the melted wax.
Stirring Utensil: Use a heat-resistant spoon or stirring rod to mix the fragrance oils and colorants into the melted wax.
Wick Holders or Clothespins: Use wick holders or clothespins to keep the wicks centered in the candle containers during pouring and cooling.
Labels and Packaging: Consider labels and packaging materials to personalize and decorate your finished candles.
Once you’ve gathered your supplies, it’s time to roll up your sleeves and start crafting your own hand-poured soy wax candles.
Step-by-Step Candle-Making Process
Follow these simple steps to create your own hand-poured soy wax candles:
1. Prepare Your Work Area
Cover your work surface with newspaper or a disposable tablecloth to protect it from spills and wax drips. Gather all your materials and tools within easy reach to ensure a smooth candle-making process.
2. Measure and Melt the Wax
Using a kitchen scale, measure the desired amount of soy wax flakes for your candles based on the size of your containers. Place the soy wax flakes in your double boiler or pouring pot and melt them over medium heat, stirring occasionally with a stirring utensil. Monitor the temperature of the wax with a thermometer and heat it to around 170-180°F (77-82°C).
3. Add Fragrance and Color
Once the wax is fully melted, remove it from the heat and allow it to cool slightly to around 160-170°F (71-77°C). Add your chosen fragrance oils or essential oils to the melted wax, following the manufacturer’s recommended usage rates. If desired, add candle dye blocks or liquid candle dyes to achieve your desired color. Stir the fragrance oils and colorants into the wax thoroughly to ensure even distribution.
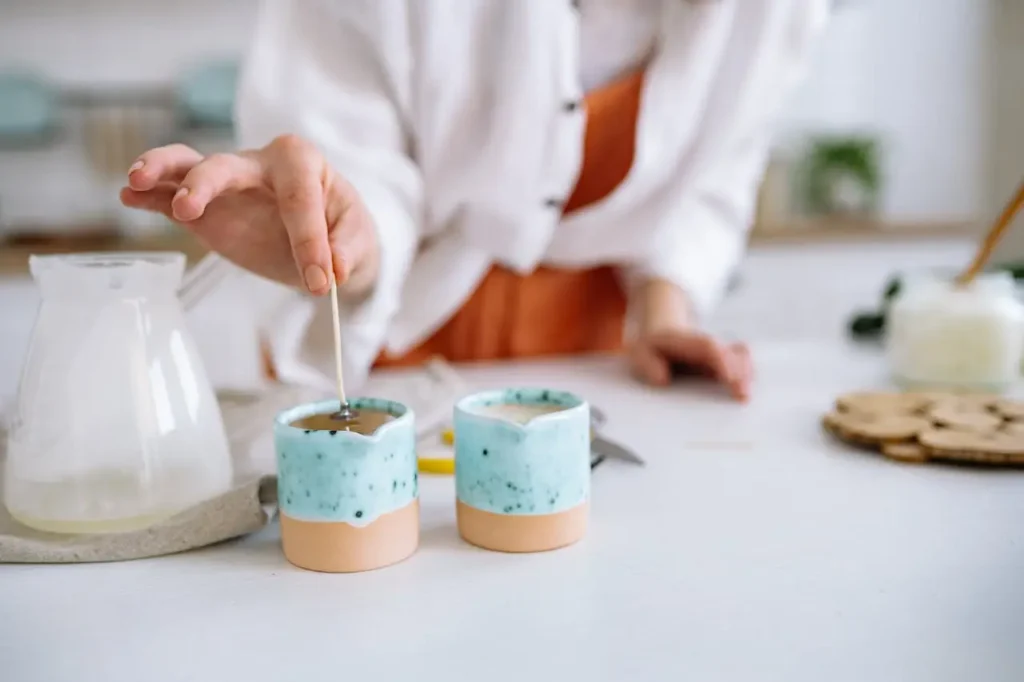
4. Prepare the Candle Containers and Wicks
While the wax is cooling, prepare your candle containers by securing the wicks in the center using wick holders or clothespins. Ensure that the wicks are straight and centered to prevent uneven burning.
5. Pour the Wax
Once the wax has cooled to the appropriate temperature, carefully pour it into the prepared candle containers, leaving about half an inch of space at the top. Being cautious not to overfill, fill each container to the desired amount.
6. Allow the Candles to Cool and Cure
Allow the candles to cool and cure at room temperature for at least 24 hours, or until the wax has fully solidified. Trim the wicks to a quarter of an inch using scissors or wick trimmers.
7. Label and Decorate Your Candles
Once the candles have fully cured, consider labeling and decorating them to add a personal touch. Create custom labels with the scent name and any other details you’d like to include. Package the candles in gift boxes or bags for gift-giving or display them in your home for personal use.
Conclusion
Crafting your own hand-poured soy wax candles is a rewarding and enjoyable experience that allows you to create beautiful, custom candles to enhance your home decor or give as thoughtful gifts to friends and family. With the right materials and a little creativity, you can experiment with different fragrances, colors, and container styles to create candles that reflect your unique style and personality. So gather your supplies, set aside some time for creativity, and let the soothing glow of homemade candles illuminate your home with warmth and beauty.