Transforming a room with a fresh coat of paint can breathe new life into your living space, but achieving a professional finish often requires more than just a paintbrush and a can of paint. In this article, we’ll explore ten expert tips for painting a room like a pro. Whether you’re a seasoned DIY enthusiast or a first-time painter, these tips will help you navigate the intricacies of the painting process, from room preparation and paint selection to the techniques that can make a significant difference in the final result. By following these tried-and-true guidelines, you can achieve a flawless, polished look that will leave your room looking as though it was painted by a seasoned professional.
Prepare the Room:
Before you begin painting, it’s crucial to prepare the room. Clear the space of furniture and protect the floors and any remaining items with drop cloths or plastic sheets. Removing fixtures, switch plates, and hardware such as doorknobs and light switch covers will make your job easier and ensure a cleaner finish. Adequate preparation sets the stage for a smooth and efficient painting process.
Choose the Right Paint:
Picking the right paint is essential for a professional-looking result. High-quality paint, while more expensive, provides better coverage and durability. Select the appropriate finish for your room – flat for a non-reflective, matte look, satin for a subtle sheen, or semi-gloss for easy cleaning in high-traffic areas. Additionally, consider paint with low or zero volatile organic compounds (VOCs) for a more environmentally friendly and healthier painting experience.
Prep the Walls:
Wall preparation is a crucial step in achieving a flawless finish. Begin by cleaning the walls to remove dust, dirt, and grime. Repair any imperfections, such as nail holes or cracks, using spackling compound, and then sand the surfaces to create a smooth, even canvas for your paint. Proper wall preparation ensures that your paint adheres well and looks impeccable when dry.
Prime First:
Don’t skip the primer. Applying a coat of primer is especially important when painting over a dark color or a glossy surface. Primer helps the paint adhere better, improves its coverage, and ensures the true color of your chosen paint shines through. It’s an essential step in achieving a professional, long-lasting paint job.
Cut In Before Rolling:
To paint like a pro, start by “cutting in” the room with a high-quality paintbrush. This means painting a straight, even line about two inches away from the ceiling, baseboards, corners, and any areas where the roller might not reach easily. Cutting in creates a border that makes it easier to roll the larger wall sections without worrying about smudging or uneven edges. This technique ensures a neater, more polished look for your freshly painted room.
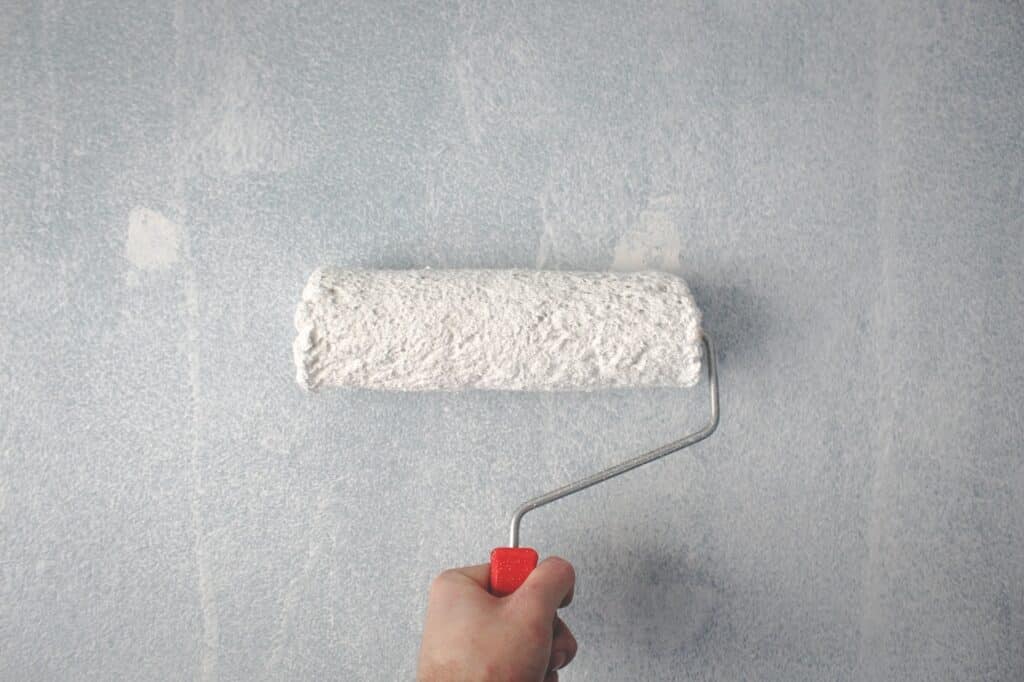
Use the W Technique:
When it’s time to apply paint with a roller, use the “W” technique. Start by painting a large “W” shape on the wall and then fill it in without lifting the roller. This method helps distribute the paint evenly, prevents lap marks, and ensures that your paint job appears seamless from one section to the next. It’s an effective way to maintain consistency and a professional finish throughout your room.
Maintain a Wet Edge:
Maintaining a “wet edge” is essential when painting to avoid visible brush or roller marks. The wet edge is the border where you’ve just painted and where you plan to paint next. By working quickly and not allowing the paint to dry between sections, you can blend the wet and dry areas, creating a uniform and unblemished surface.
Layer Thin Coats:
It’s often tempting to apply a single thick coat of paint for quicker results, but it’s not the path to a professional finish. Instead, apply multiple thin coats. Thin coats dry faster, are less likely to drip, and provide a smoother, more even coverage. By layering the paint in this manner, you’ll achieve a consistent, flawless appearance in your room.
Paint from Top to Bottom:
To paint like a pro, always begin at the top of the wall and work your way down. This method ensures that any drips or accidental smudges are covered as you progress. Starting from the top also allows you to catch any potential errors before they become visible on the finished lower areas, guaranteeing a polished look when the job is done.
Inspect and Touch Up:
After the paint has fully dried, inspect the room in different lighting conditions to identify any areas that may need touch-ups. Look for missed spots, uneven coverage, or imperfections in the finish. Touch up these areas with the same paint and techniques used initially to ensure that your room looks professionally painted from every angle. Thoroughly inspecting and addressing these details is the final step in achieving a flawless paint job.